Share this post!
Welcome back, holistic nutrition enthusiasts. In our last blog on childhood nutrition, we highlighted some of the nutrients that were crucial for your baby’s first year of development. This time we will look at childhood nutrition for ages 1-5 years old.
In this blog, we will highlight a few nutrients that are crucial for your toddlers. This blog will be fun because your children are exploring their world. Tastes and textures are all new to them. The goal here is to joyfully expand their horizons with a wide variety of tastes and textures and not fall prey to bland, processed carbohydrates. (This might require that you, too, expand your horizons a bit. 😊)
When discussing infant nutrition, we discussed the importance of Vitamin A. In that discussion, we talked about the best ways for mom to eat the foods rich in this nutrient so that it could be passed through breast milk. Since this nutrient remains crucial during years 1-5, we’ll highlight the foods that your children can eat, to reach their nutritional goals.
Vitamin A
Vitamin A is crucial for:
- Immune function
- Reproduction
- Vision
- Growth and development of
- heart
- lungs
- kidneys
Knowing the important role that Vitamin A plays in our growing children, it’s easy to understand why you would want to make sure they’re getting optimal amounts each day.
We’ve written a blog that goes into great detail about vitamin A and I hope you’ll read it. In the meantime, it’s important to understand that Vitamin A is classified in two forms:
- Preformed Vitamin A
- Found in animal foods
- Provitamin A carotenoid
- Most known is beta-carotene
- Found in plant foods
This distinction is important because the preformed Vitamin A is easier to absorb than the provitamin A carotenoid form.
Food Sources of Vitamin A
Concentrations of preformed vitamin A are highest in liver and fish oils. Milk and eggs also contain preformed Vitamin A, but not near the level of liver and fish oil. Most dietary provitamin A comes from leafy green vegetables, orange and yellow vegetables, tomato products and some fruits. Sweet potatoes contain the highest levels of beta-carotene. Spinach, pumpkin and carrots come in a distant second, third and fourth place.
According to an analysis of data from National Health and Nutrition Examination Survey (NHANES), “the average daily dietary vitamin A intake in Americans aged 2 years and older is lower than the RDAs for individuals, but these intake levels are considered to be adequate for population groups.” I think most parents want more than ‘adequate’ levels of nutrition for their children. Most would likely want ‘optimal’ levels.
Furthermore, this study stated “the adequacy of vitamin A intake decreases with age in children. Sadly, girls and African-American children have a higher risk of consuming less than two-thirds of the vitamin A RDA than other children.”
Most guidelines show the recommended dietary allowance for vitamin A given as retinol activity equivalents (RAE). This will account for the different bioactivities of retinol in preformed vitamin A and in provitamin A carotenoids, which need to be converted by the body into retinol. The RAE for children 1-5 years old is 300-400 mcg daily. (Please note, the RDA only shows the minimum amount needed to prevent deficiency diseases. The RDA does not account for ‘optimal’ levels.)
At the end of this blog, there’ll be simple recipes to ensure that your children get optimal levels of Vitamin A, not just ‘adequate’ levels.
Iron
Iron is another key nutrient that will need special attention for your toddler.
Babies and children need iron for their brains to develop normally. Additionally, they need iron to make hemoglobin, which takes oxygen through the blood to all the cells of their body. When they don’t have enough iron, they can’t carry enough oxygen to their body’s organs and muscles.
And, like Vitamin A, there are two types of iron:
- Heme Iron
- Found in animal foods
- Is more easily absorbed by the body
- Good sources include beef, lamb, pork
- Found in animal foods
- Non-heme Iron
- Comes from plant foods like legumes
- Chick peas, kidney beans, lentils, etc
- Vegetables
- Broccoli, Brussels sprouts, spinach, etc
- Comes from plant foods like legumes
To help your child’s body absorb iron more efficiently, add foods with good sources of vitamin C, such as oranges, tomatoes and red peppers.
The bioavailability of iron is approximately 18% from mixed diets that include meat, seafood, and foods rich in vitamin C and 5% to 12% from vegetarian diets.
The ideal amount of iron for your 1-5 year old child would be about 7-10 mgs per day.
Beef liver and white beans are excellent sources that will allow your child to reach their daily goals.
Fiber
Now that your toddler is getting most of their nutrition from foods, instead of breast milk or formula, it’s important to introduce fiber-rich foods to help support optimal digestive health. If your baby isn’t digesting foods effectively, it can lead to many nutrient deficiencies.
Since your child doesn’t have any preconceived notions about what foods are ‘good’ and what foods are ‘bad’, it’s really important to offer a wide variety of many different foods to help create a wide palate for them.
There are interesting studies out there that suggest that high-quality fiber-rich foods in early life can decrease risk for obesity and diabetes later in life.
The suggested amount of daily dietary fiber is 19 grams per day for 3-4 year old children. That number increases to 25 grams per day for 5 year olds.
The amount of fiber in 100 grams (approximately 3.5 ounces) is:
- Split Peas – 8.3 grams
- Lentils – 7.3 grams
- Chickpeas – 7.0 grams
- Avocado – 6.7 grams
- Raspberries – 6.6 grams
Apples, beets and broccoli each contain between 2.5-3.0 grams of fiber per 3.5 ounces of food. You can see how easy it would be to help your child reach these daily goals just by adding a few of these foods to their daily routine.
What Foods Should I Introduce To My 1-5 Year Old?
As I suggested at the beginning of the blog, please, if necessary, widen your food palate a bit, to ensure optimal nutrition for your 1-5 year old.
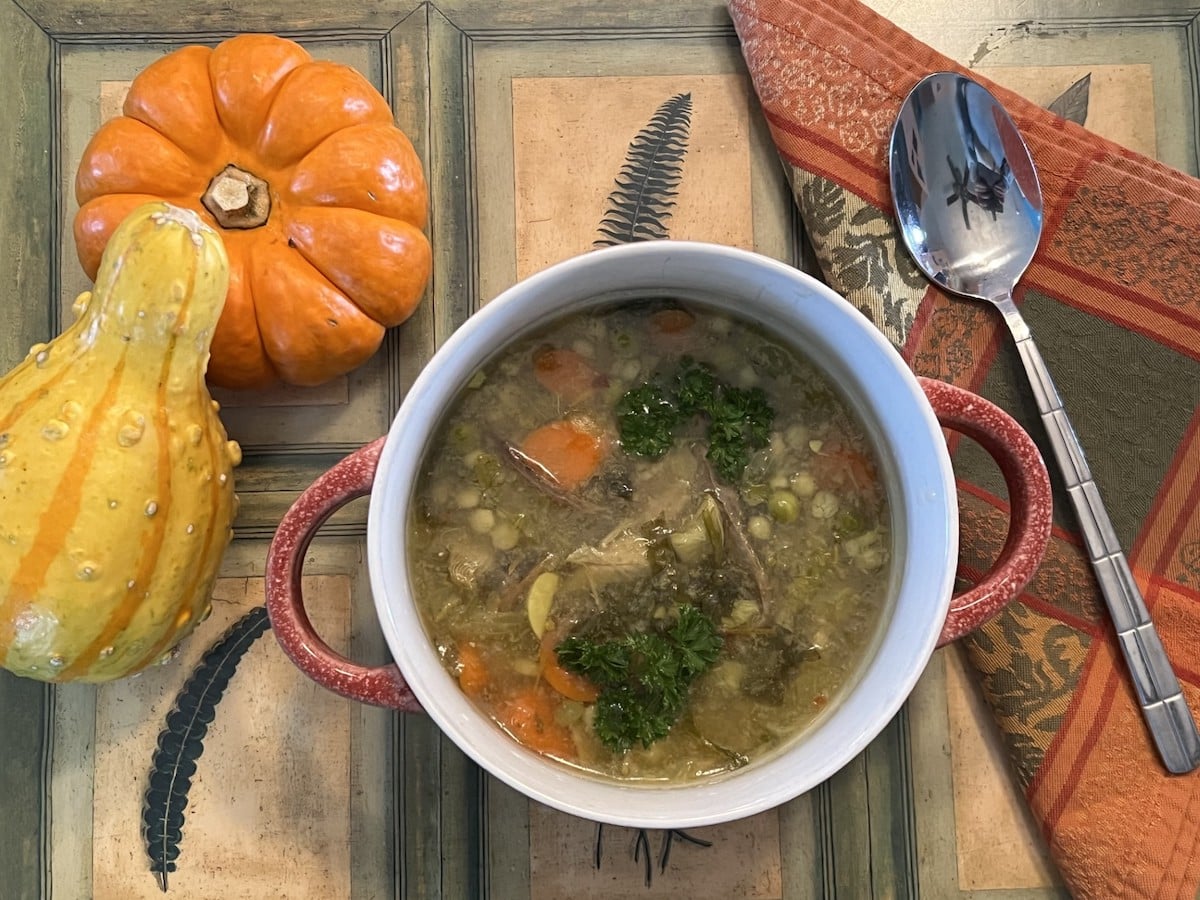
When your child is about 1 year old, you could introduce homemade bone broth with some pureed liver added in. Most good quality whole chickens have the organ meats included with your purchase. You can add all the organ meats to your crockpot when making your bone broth. Once done cooking, just puree organ meats in blender and add back to bone broth. Easy Peasy . My recipe will be shown at end of blog.
You can also add soft avocado to your 1 year old’s diet. Great source of healthy fats and fiber. Win Win
Foods for 2-3 Year-Olds
When your child is 2-3 years old, you can add in some dilly carrots and purple sauerkraut. These fermented foods will support optimal digestive health and give your little one something fun to ‘crunch’ on. Again, recipe will be at end of blog.
If you don’t fall prey to mac and cheese and chicken nuggets as first foods for your children, they won’t naturally develop a taste for it.
It is much easier to start a healthy habit for your child then try to break a bad one. Temper tantrums and 2 year old’s is hard to handle, to be sure.
If this blog is reaching you too late, and your 2-5 year old has already picked up on poor eating habits, please reach out to a graduate of NTI’s holistic nutrition courses, otherwise known as a Nutrition Therapist Master. They definitely have the tools and tricks to help you redevelop the taste buds of the finicky-est eaters. 😊
Our next blog on childhood nutrition will cover nutrients and foods for kiddos who are 6-12 years old. Looking forward to seeing you then.
Recipes for First Foods
As promised, here are easy recipes to get your 1-5 year old started on the road to awesome health.
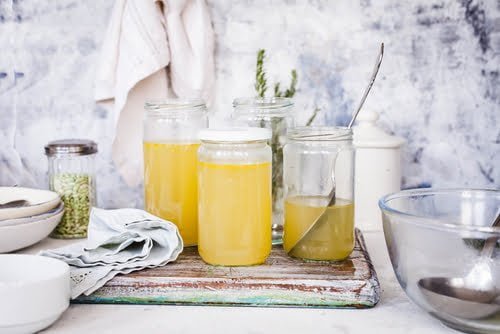
Homemade Bone Broth
- Save the bones of your baked, roasted or fried chicken.
- Put bones in crockpot. (Add the organ meat, too, if it came with your whole chicken)
- Add 2 TBS apple cider vinegar
- Add spices of your choice. (I add turmeric, garlic, onion, salt, pepper, paprika, cayenne)
- Fill crockpot with water.
- Turn on low.
- Cook for 24-36 hours
- Keep adding water, if it is evaporating.
- Strain liquids and place in glass jars (preferably).
- Discard bones BUT pull out the cooked organ meat.
- Puree the organ meat and mix it back into the bone broth.
If you’re super lucky, once refrigerated, the broth will turn very gelatinous….just like Jello.
Don’t worry if it doesn’t. It will still be delicious.
You can enjoy 8 ounces, warmed, every day. But, make sure to give your child 2-4 ounces every day.
Fermented Dilly Carrots
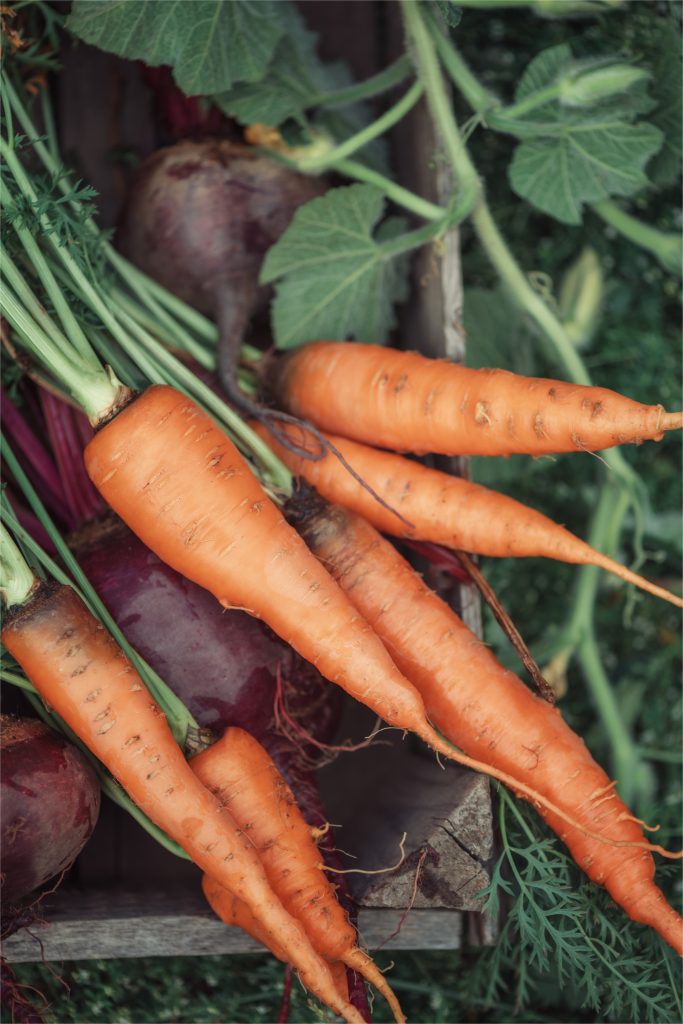
This recipe came from Jessica Beacom of The Real Food RD’s. She gives lots of great tips when starting on your ‘fermented food’ journey.
Ingredients:
- 1 lb. fresh carrots, with ends trimmed. Peeled if they are less than market-fresh or have a thick, bitter peel
- 1 quart-size mason jar or other jar, with lid
- Garlic, 3 large cloves peeled and smashed
- Fresh or dried dill (or other herbs such as thyme, rosemary, sage or marjoram)
- Unrefined sea salt
- Filtered water
Directions:
Prepare your carrots: Trim the ends of the carrots, wash under cool running water (no soaps or produces washes) and peel if needed.
Slice carrots into thin sticks, keeping them all about the same size and thickness. (Tip: Stand a carrot stick up inside your jar to determine how long your sticks should be cut in order to give you 2 inches of ‘headspace’ (i.e. the amount of room between the top of the food and the top of the jar). Then cut to size and use this as your ‘ruler’ as you cut the rest.)
Add salt and flavorings: Pour 1 tablespoon of unrefined, non-iodized sea salt into the bottom of the quart jar. Add smashed garlic and dill or any other flavorings you like. I particularly like fresh rosemary and thyme but lemon and ginger (used in place of the garlic) is a refreshing variation that goes great with Asian-inspired dishes or salads.
Pack them in tightly: I like to lay the jar on it’s side and carefully place the carrot sticks inside, packing them in as tightly as possible so that when the brine is added they won’t float to the top. Alternating the thick and thin ends of the carrot sticks helps you really pack them in there.
Add water: Add filtered water to within 1 inch of the top of jar, this would be the little lip just below the threads that catch the lid when you screw it on.
Filtered, non-chlorinated water is a must here because you don’t want to kill off any of the naturally present bacteria with the chlorine in the water. If you don’t have a filter on your tap or fridge water dispenser that removes chlorine, purchase bottled spring water (not distilled).
You’re almost done!
Now put on the lid and tighten it just barely. Less than “fingertip” tight. You really just want the lid to be held in place, not tightened down. As the lactic acid bacteria present on the vegetables start to multiply and consume the sugars in the garlic and carrots, they’ll start to produce carbon dioxide. You may start to see the tiny bubbles and hear a little fizzing after 1-2 days of sitting on the counter at room temperature. How exciting! They’re truly alive!
Place the jar inside of glass baking dish (in case it bubbles over) and set the jar on the counter out of direct sunlight. Don’t be tempted to place it in a closet or pantry where you may forget to check on it. As you learn to ferment it’s helpful to check in daily to observe the small changes in color, activity, smell and taste.
Fizz and scum: When to worry
Fizz and scum are a normal part of fermentation as both bacteria and yeast are hard at work preserving your vegetables. After just 24 hours you’ll notice that the water has turned cloudy and you may even see some tiny bubbles rising to the surface. After 2-3 days, depending on how warm your kitchen is, if you remove the lid you’ll probably see some white scum. This is completely harmless and normal. By days 3-4 you’ll also notice a slight sour or acidic smell. Not vinegar-y, just slightly sour. Now do a taste test by using a clean stainless steel utensil (not aluminum) to remove a carrot stick from the jar. If it’s pleasingly sour and tangy to you and you like the amount of crunch, then it’s ready. If you prefer them tangier and less crunchy, replace the lid and check again the following day.
When you find your ‘bliss’ point of sour/tangy/crunchy then tightly cap with the lid and store in the fridge for up to 6 months. They will continue to ferment albeit at a much slower rate so be careful when removing the lid on a jar that’s been stored awhile so that it doesn’t spray all over.
If see red or pink mold, black scum or the smell is unmistakably putrid and you have a slimy brine then it’s time to pull the plug and toss your carrots. This is a sign that something went wrong and your carrots have spoiled. But fear not, in all of my years of fermenting I’ve had only a handful of ferments go bad and it’s never been a jar of carrots.
Purple Sauerkraut
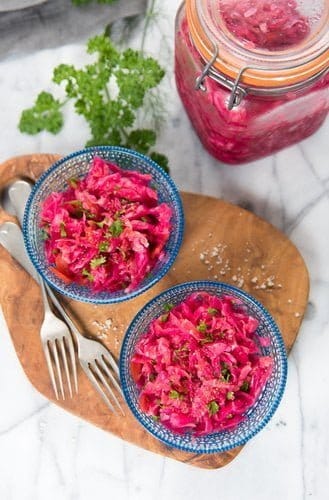
Last, but not least, I’m attaching a link for a yummy, fermented purple sauerkraut. I want your child to see that foods can be all sorts of fun, vibrant colors.
Bon Appetit
As I’m sure you know by now, optimal nutrition is important for your child’s physical and mental health. Learn more about how to nourish your little one as they grow up through middle childhood, when they go off to school, and during their teenage years.
About the author: Dr Becky Spacke, teaches holistic nutrition courses at Nutrition Therapy Institute. In addition, she has a private practice, working with people at risk of developing Alzheimer’s Disease.
About Nutrition Therapy Institute’s Holistic Nutrition Certification
Nutrition Therapy Institute (NTI) is a leader in holistic nutrition education. Since 1999, NTI has provided students with the highest quality in nutrition training by offering comprehensive holistic nutrition courses. Offering online and in-person nutrition course options to help students achieve thriving careers as holistic nutrition therapists.
Images: Evan Long is licensed under CC BY-SA 3.0; casanisa/shutterstock.com; gostua/shutterstock.com; Anna Hoychuk/shutterstock.com
Share this post!

