Share this post!
Coconut yogurt is a fantastic yogurt alternative for those following a vegan, paleo or low FODMAP diet, and for anyone who is lactose intolerant or has dairy sensitivities. But have you ever tried making it yourself? If you are a Nutrition Therapist, learning how to make coconut yogurt could be a beneficial skill to teach your clients. Let’s make coconut yogurt!
Why we love it
A major benefit of making your own coconut yogurt is the healthy and clean ingredients: just coconut milk, probiotics, gelatin, and maple syrup. Commercially made coconut milk yogurt may include sweeteners, stabilizers, and added flavors. Certain yogurts should be considered desserts, not health foods!
Something else to keep in mind is that most commercial yogurts are pasteurized, which kills off many of the live active cultures. Probiotics are added to commercial yogurts after pasteurization and may not have the same gut benefits as the cultures from the original fermentation. With homemade yogurt, you can be confident that the original healthy bacteria are thriving.
Troubleshooting with Chef Amber
Before you jump in to making your coconut yogurt, here are a few questions I asked Chef Amber to make sure the process is done right. Chef Amber was trained through Nutrition Therapy Institute’s Natural Food Chef program.
What should my homemade coconut yogurt texture be like?
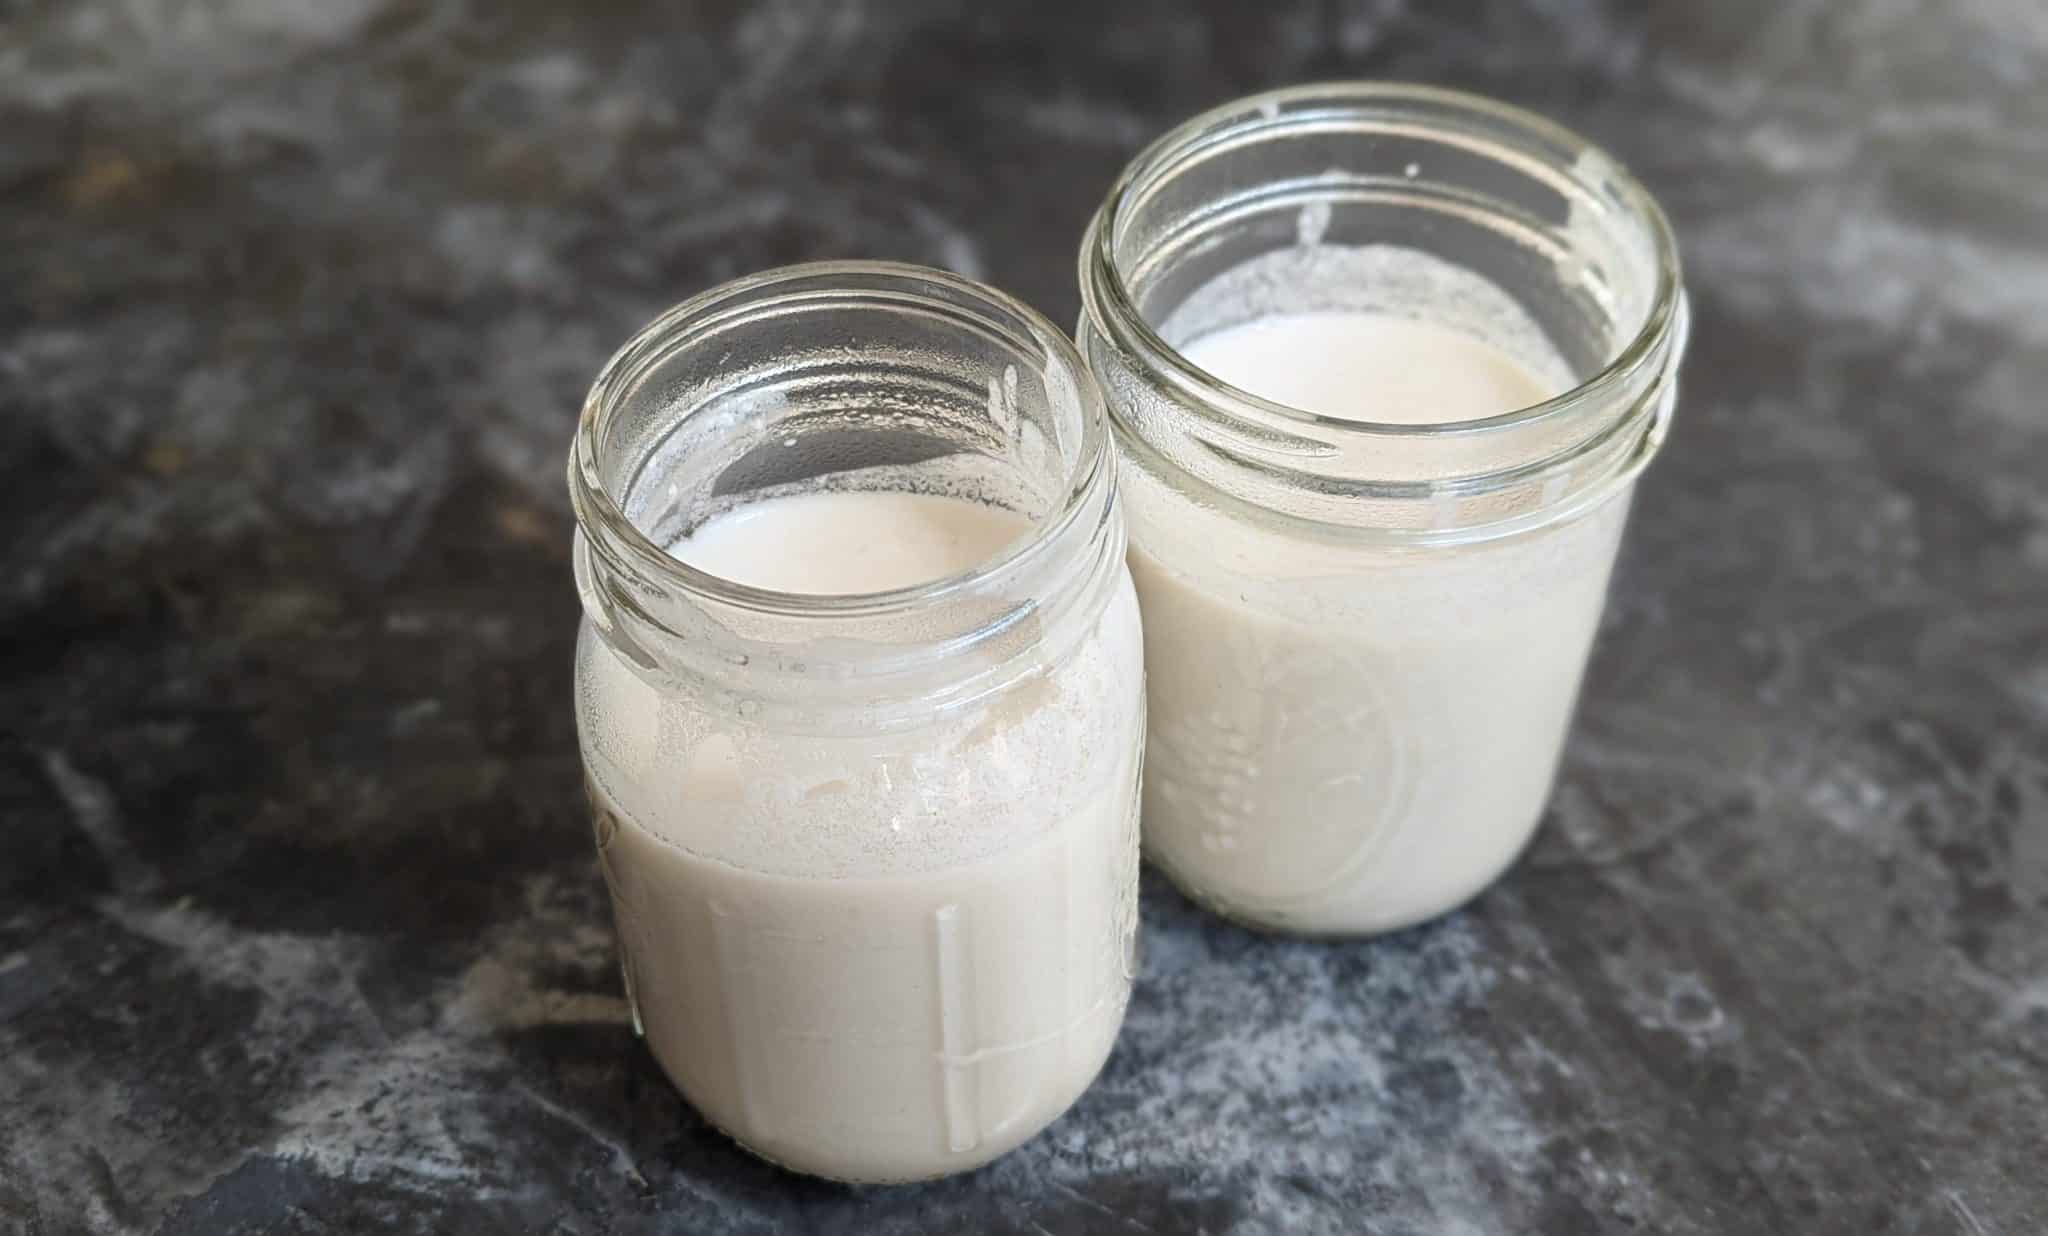
It will likely be thinner than store-bought, more similar to kefir. It depends on the brand of coconut milk you are using due to the fat content, as well as the potency of the probiotics. Sometimes the yogurt can come out grainy/gritty – this can happen if you use a commercial yogurt with additives for your starter instead of probiotics. When using commercially produced yogurt as a starter, I would recommend sticking to yogurt with live cultures, but NO additives.
Can I use expired probiotics?
I would not recommend using expired probiotics, as their potency has more than likely decreased, and the milk will not properly be inoculated.
Can I use coconut milk that contains guar gum?
Yes. Some people can be sensitive to guar gum, causing gastrointestinal disturbances, so I like to use coconut milk that has only 1 ingredient, i.e. coconut. However, coconut milk that does contain guar gum may help create a smoother texture and prevent separation since guar gum is an emulsifier. Brands that do not contain guar gum are more likely to have some separation. The separation will only occur right after the fermentation period but before refrigeration. Once the yogurt has been whisked and chilled it shouldn’t separate again. If it does, try stirring and it will recombine just fine.
Why do we need gelatin or agar agar flakes?
This will help with the yogurt’s texture and help to thicken it. Often commercial yogurts will add gums, so I add gelatin or agar agar to thicken the yogurt.
What if I see weird colors or odd smells?
This indicates that something has gone wrong. Usually, bacteria that you didn’t want got into your ferment somehow – a common culprit is the seal of your Instant Pot lid or a utensil that was used wasn’t completely clean. It should taste tangy, but not spoiled. If this happens, throw it out! You can always try again after thoroughly cleaning everything.
What do I do if I don’t have a thermometer?
You want to make sure the milk is still warm, but not too hot, because it will kill the probiotics and the fermentation will not occur. If you don’t have a thermometer, drip some of the cooling coconut milk on your wrist – it should feel slightly warm but not hot.
How long does this yogurt last in the fridge?
It should last for 3-5 days. Make sure to keep it in a covered container or jar with a lid. Otherwise, the yogurt might form a crust or pick-up fridge funk, gross!
My yogurt tastes great, but the consistency is too runny. What can I do?
To thicken your yogurt, you can place two layers of cheesecloth over a fine mesh strainer set over a mixing bowl. Carefully pour your yogurt over the cheesecloths. Refrigerate the bowl with the yogurt and let drain for several hours until the desired thickness is reached. This is how Greek yogurt is made!
What does it mean that the glass jars have to be sanitized?
You can use jars that come straight out of the dishwasher but be sure to always wash your hands and utensils as well.
Holistic Nutrition Professionals are trained to recommend bioindividualized diets to clients. For a client who is not able to consume dairy, coconut yogurt could be a great recommendation. Natural Food Chefs are trained to prepare healthy unconventional foods, such as yogurts and other fermented foods. Let us know if you try making this coconut yogurt!
Coconut Yogurt

Ingredients:
2 cans full-fat coconut milk (Native Forest, no guar is Chef Amber’s favorite)
1 rounded tbsp granulated probiotics (HCL Symbiotic Intensive packets from Pharmax is what Chef Amber uses) – (or 1/4 cup of previously made yogurt*)
2 tsp gelatin (can use 1 tbsp agar agar flakes instead of gelatin to make it vegan)
1 tbsp maple syrup
Instructions:
- Sanitize everything. This prevents bad bacteria from getting in and ruining your yogurt! Chef Amber has found two minutes on the steam function with a cup or two of water in the bottom of the Instant Pot works well. You can put any metal tools in there as well (whisk, teaspoons, etc.).
- Boil a small pot of water to sanitize the head of an immersion blender and thermometer. Set all sanitized tools aside on a clean paper towel to dry.
- Dump sanitizing water out of the Instant Pot and pour in the coconut milk. Press the sauté button to bring it to a rolling boil (should reach about 180°F).
- Once it has reached a boil, turn off the sauté function.
- Add in gelatin and maple syrup and use the immersion blender to be sure everything is incorporated and dissolved.
- Remove insert from Instant Pot and set on the counter to cool to somewhere between 110-115°F. Any hotter and it will kill the good bacteria in the probiotic. Use a thermometer!
- Once cooled, whisk in the probiotics.
- Place the insert back in the Instant Pot and press the yogurt button. Set time for 16 – 24 hours depending on how tangy you like your yogurt. The longer it goes the more tang it will have.
- Once done, whisk again and pour into sanitized glass jars. Set aside about ¼ cup of the yogurt to use as a starter for the next batch instead of the granulated probiotic. Using a portion of yogurt as the starter will work for at least the next 5 batches.
*You can also try using commercial yogurt as a starter, such as CocoYo brand.
Yields 2 cups
Recipe by Chef Amber Frazier
Nutrition Therapy Institute Events
NTI periodically hosts events focused on making healthy unconventional foods, such as yogurt, sprouts, kombucha, sauces, wraps and more. Make sure you are subscribed to our newsletter to receive upcoming event updates. Come learn with us!
Below are some examples of past NTI cooking events:
Enliven Your Food World With Uncommon Kitchen Techniques
GAPS Cooking Weekend at Nutrition Therapy Institute
Be Well, Cook Well at NTI Cooking Series
Want to learn how to create and prepare recipes like this?
Join our Natural Food Chef Program! Picture yourself in your kitchen surrounded by nothing but organic vegetables, whole grains, top-quality meats, eggs and a range of the more unusual things like pâté, kimchi, kefir and bone broth. If you resonate with the idea of creating delicious meals that are not only healthy but downright regenerative, then join us for our 15-week Natural Chef program! Reach out to our Admissions team with any questions about the NFC program: ad********@*******ol.com
Did you make this recipe?
We would love to hear your feedback, see your creations and share your recipe photo with the NTI community! Tag your photos on Instagram and/or Facebook with #ntieats and #ntischool
About Chef Amber Frazier
Amber is a Nutrition Therapist Master and Natural Food Chef, as well as the co-creator of Amber & Amber Co., a 100% gluten-free catering and meal prep company based in Denver, Colorado. She combines her passion for food with a deep understanding of nutrition to create meals that are both nourishing and delicious. Learn more at amberamberco.com.
About the author: Daina Rasutis is a graduate of NTI’s Nutrition Therapist Master Program. Her background in Environmental Engineering has allowed her to combine the best of science with a love for nutrition, sustainability & delicious food. Follow Daina’s nutrition practice, cooking creations and lifestyle tips on her website: www.tabletocrave.com
Share this post!

